
The better is sometimes the enemy of the good. So also the point vacuum as plate washing machine for records!
For years, a well- run plate washing machine is next to my ultrasonic cleaning.
But: big, loud, not visually appealing, difficult. …… ..
So reason enough to look again in the box of “rests” and to use leftovers.
What was the goal?
– small and light
– quietly
– easy to use with display information
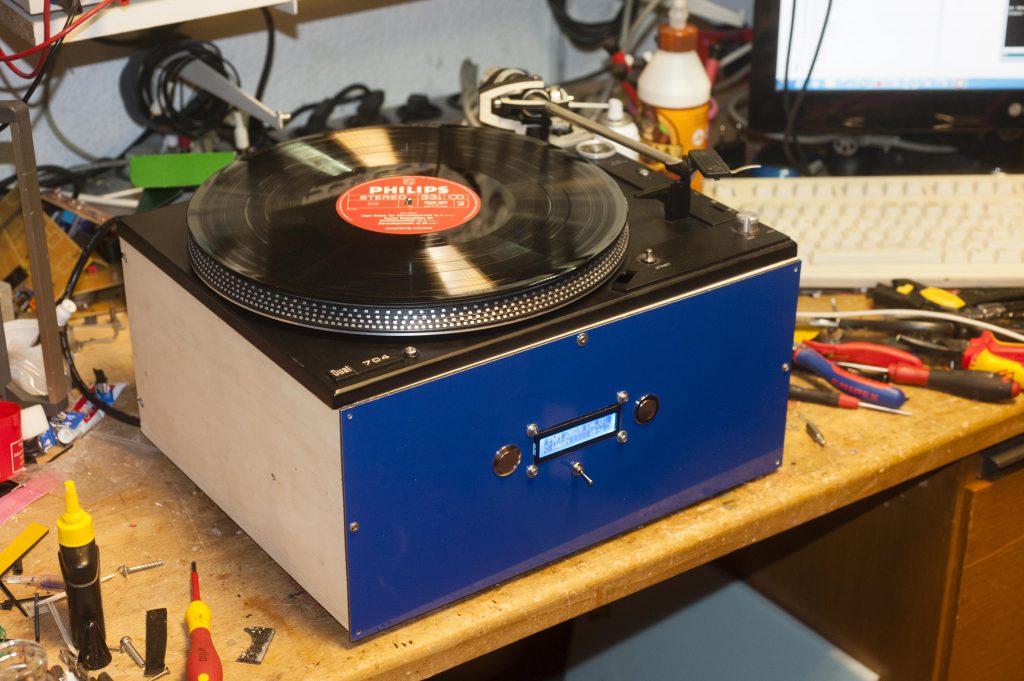
– visually appealing
– Modification of the extraction speed in the area of the inlet groove
– Selection of different washing programs ….
So it was back to the housing and programming.
What is the starting material?
– 1 cored plate playing chassis with mounted “Tonearm” (Dual 704) – forgive me the sacrilege, I like the DUAL – no matter what kind of drive – very, but that was from a non-restorative turntable)
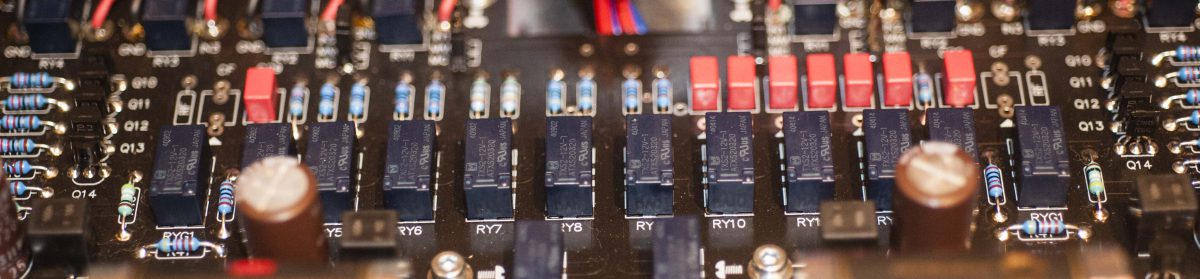
– 1 powerful engine and electronics (EDS 500)
– 1 mini compressor with 24V power supply ( about 80 €)
– 1 5V switching power supply (15 €)
– 1 Atmega 2560 (you need more analog ports than nano and consorts) (13 €)
– 1 I2C capable display 16 x 2 (3 €)
– 1 ‘Funduino Motorshield (5 €)
– 2 relay cards (7 €)
– 2 vandalism buttons (10 €)
– 1 17S Nema Stepper with gearbox (50: 1 stocky) (25 €)
– 1 yoghurt glass as a separation vessel (Almighurt glass)
– 2 bicycle valves with rubber seal
– Tubing (infusion tube , Gardena microdip tube)
– 1 external USB port
– 1 220V socket
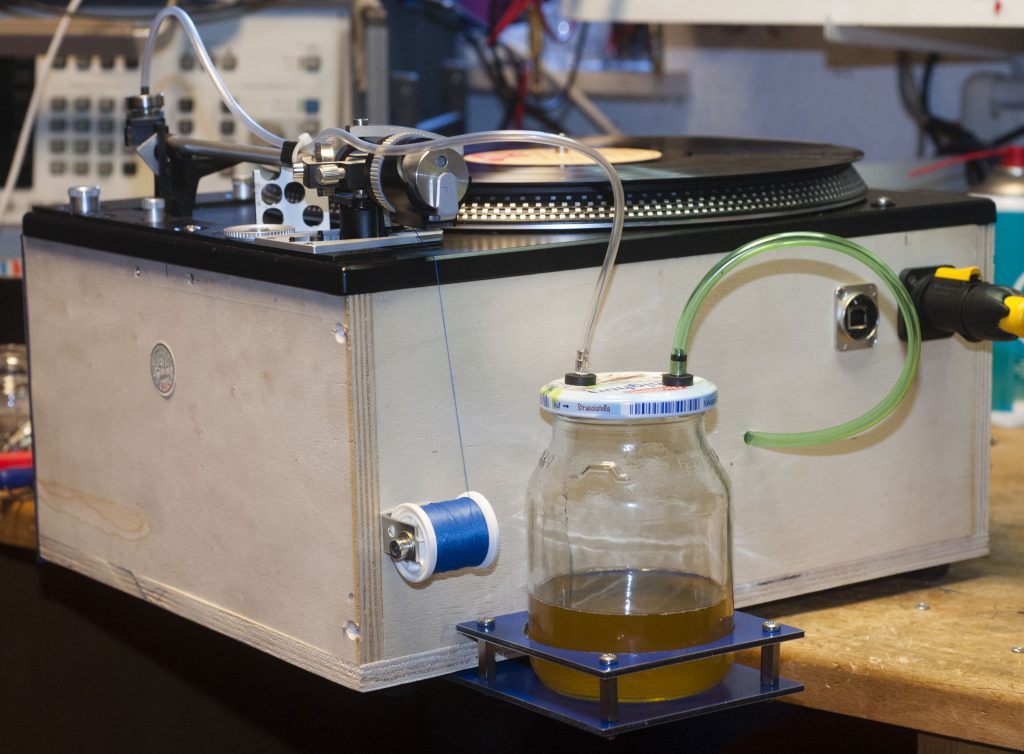
Construction :
The base area is the dual chassis, the height limited by the yogurt glass.

After that, the components were all positioned and firmly installed, the compressor (better vacuum pump) on insulation material.
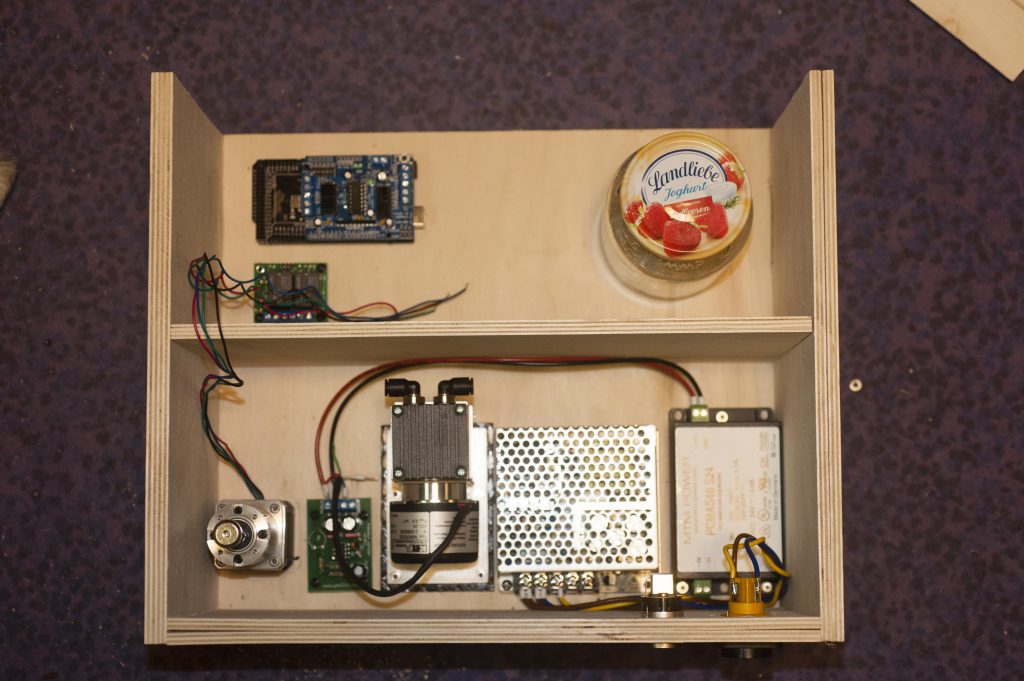
In the front area then the mega with piggyback board as Motorshield for the stepper.
I have attached the collecting vessel and the thread holder to the back of the plate washing machine for easy visual inspection.
Two things need special attention:
The DUAL must be mounted immovable and reproducible . I have realized this with circumferential internal strips, in which I have let in the old transport screw openings Rampa M4 sleeves.
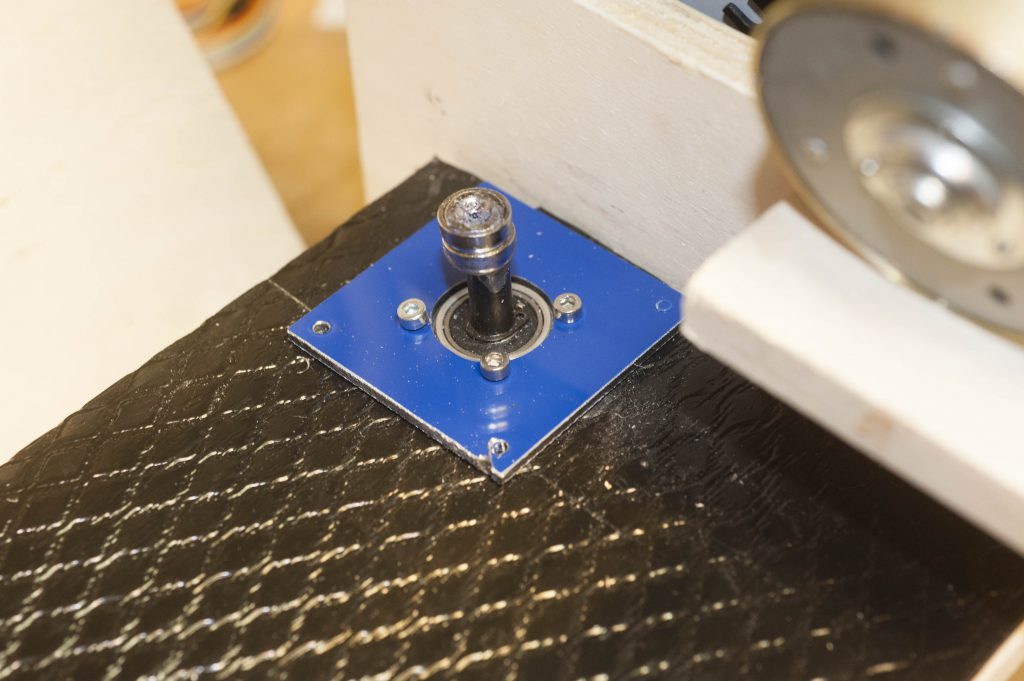
The microstepper with the magnetic coupling must also be mounted under the tonearm in the same way that it can not be misadjusted and centered exactly .
If the stepper and center of the tonearm fork are not exactly on top of each other, the magnetic coupling will spin.
The recording of the tonearm and assembly of the stepper I explain here from a mail to a friend:
1. when assembling the dual chassis must be mounted immovable and reproducible , preferably with “Rampamuffen” and M4 screws on the old locking points.
This defines the first reference point.
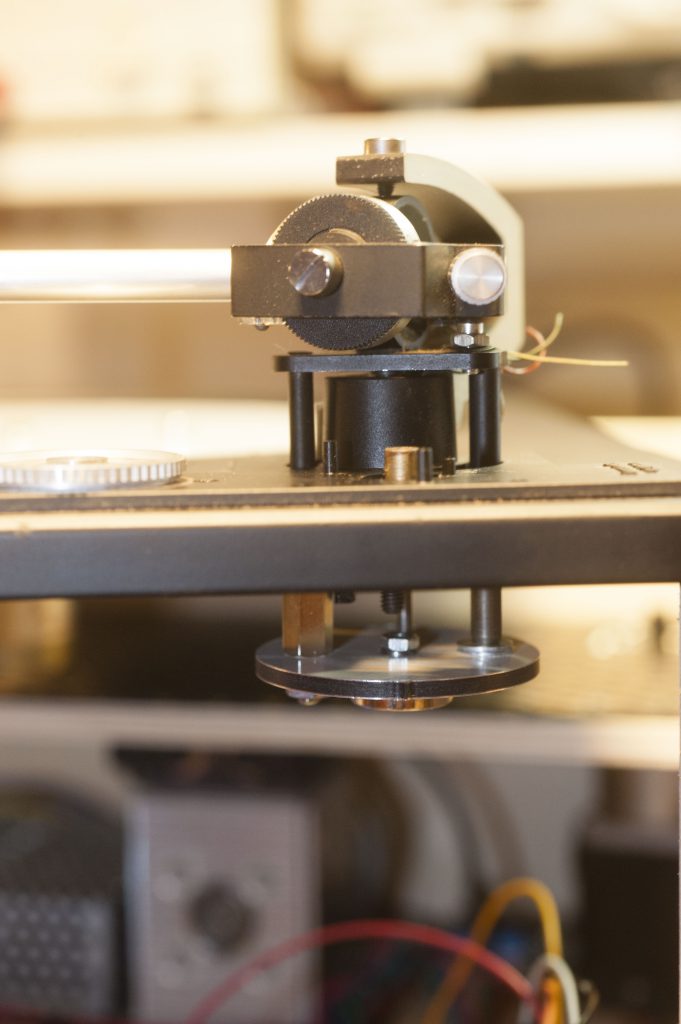
2. The dual tone arm is gutted and “loosely” rebuilt into the device
For the fork, I have built a simple adapter, which I will then mill you.
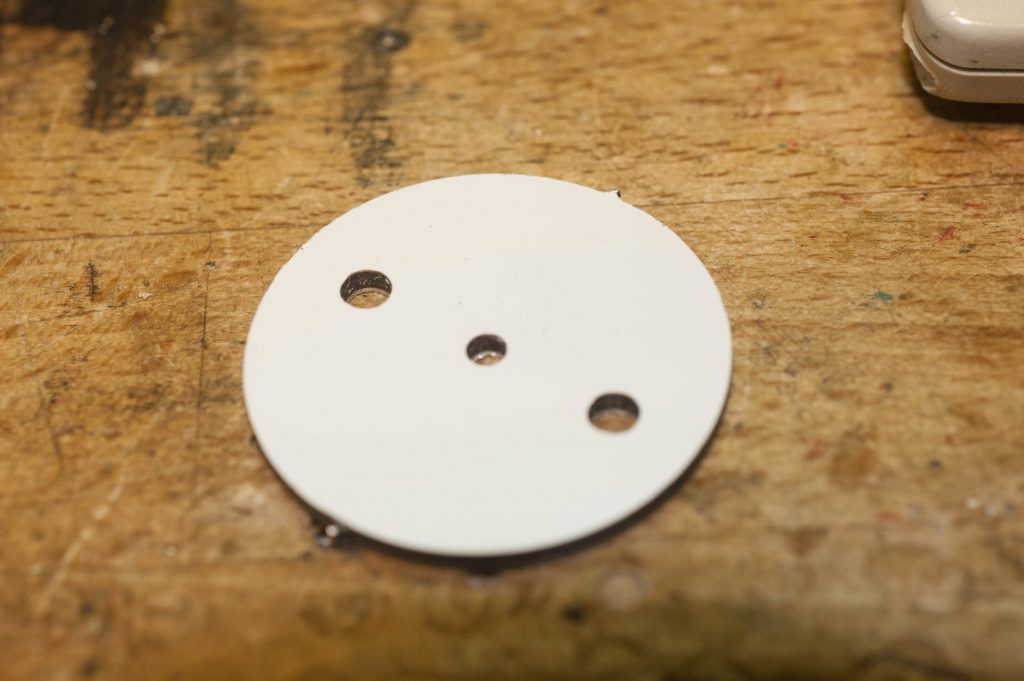
This adapter MUST hang vertically under the tonearm
… .The adapter consists of a guide hole for the longer fork portion and a drilled M4 spacer sleeve piece, which take along the shorter fork portion
… here the first dry test, but too high … ..
… and here the final solution (hanging down the plate magnet firmly screwed down)

. On the stepper, one or more counter magnets must be glued centrally, or better. You cut a M3 thread into the axis centrally and screw the plate magnet firmly.
4. How do you now get the stepper exactly vertically under the adapter plate of the tonearm?
Another adapter plate !!
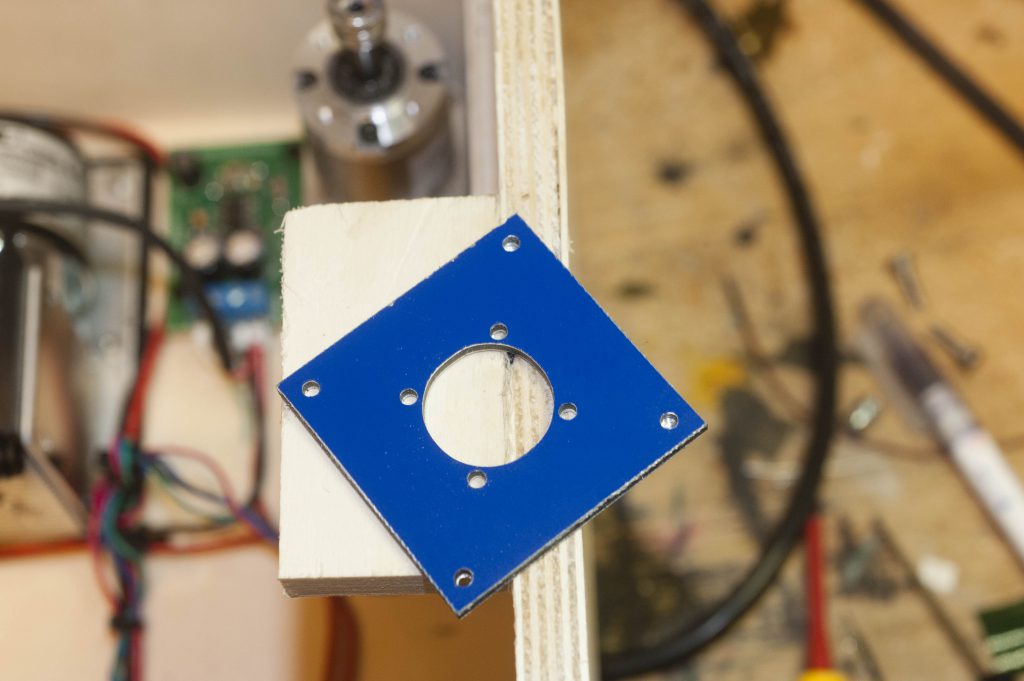
I pulled a false bottom in the back, so the electronics will stay dry one way or the other.
At the position of the stepper I drilled a much bigger hole with a Forster drill.
In it, the stepper motor can be moved in the X and Y directions.
The adapter plate 2 is then placed loosely on the intermediate bottom, and the stepper first screwed with short M3 screws against the adapter plate – raised so to speak !!
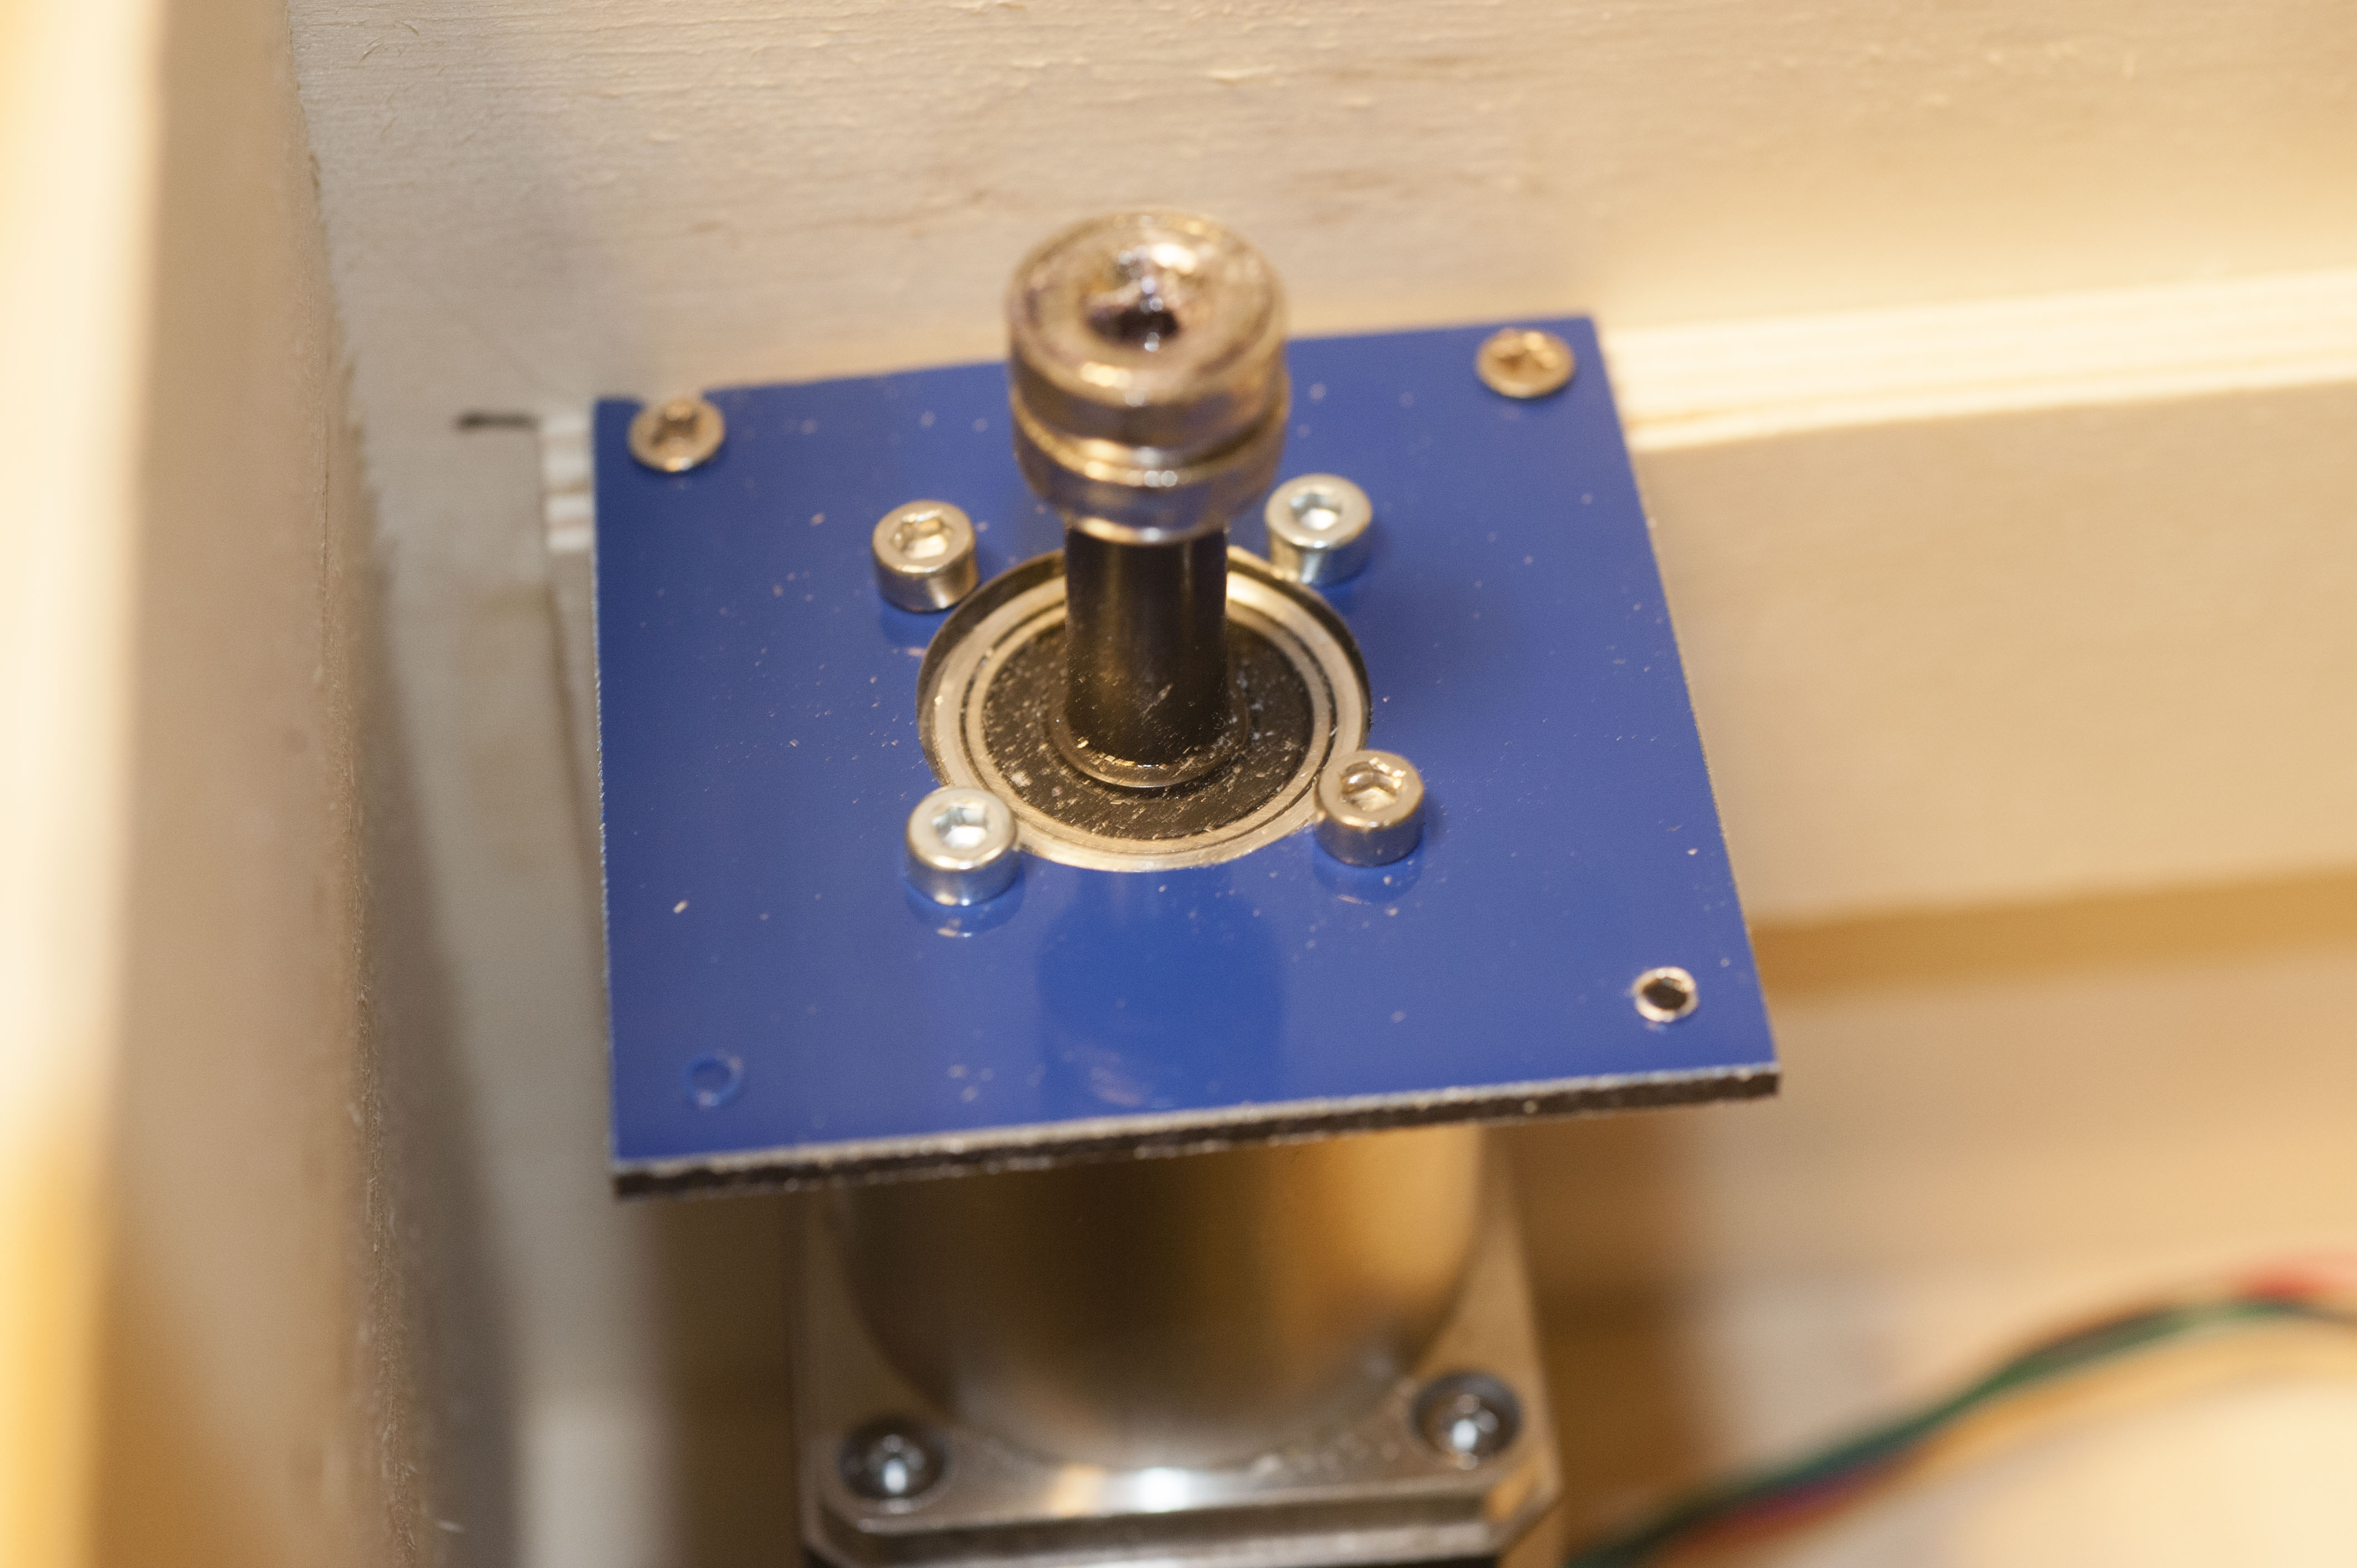
5. Adjustment:
The dual chassis is placed on top and FIXED. This is an essential requirement for a tailor-made installation
Thus, the magnet of the adapter plate indicates the direction .
With the rear wall open, you push the stepper back and forth until it is EXACTLY vertical under the magnet of the tonearm.
Programming:
All software runs on the Mega2560, as more analog ports are needed than the “small” Arduinos.
There are 2 modules:
The washing program offers 5 programs with alternating flow and return.
The drying program does the following:
– Start the main engine
– swiveling in the tonearm to the label
– slow swinging in 5 slower swing speeds
– 3 times suction of the inlet groove and the first 1cm of the plate
– Swing into the quiet position
Operation :
1. Left button wash program , by pressing several times 5 washing programs can be selected
2. Right button drying program
3. Toggle switch reset
The display shows all options and steps
Result :
– The plates are very clean thanks to the longer washing programs , which also contributes a considerable part to the special brush.
– The little “bitch” of vacuum pump is just awesome. Silent and powerful !!
– The extraction is accurate
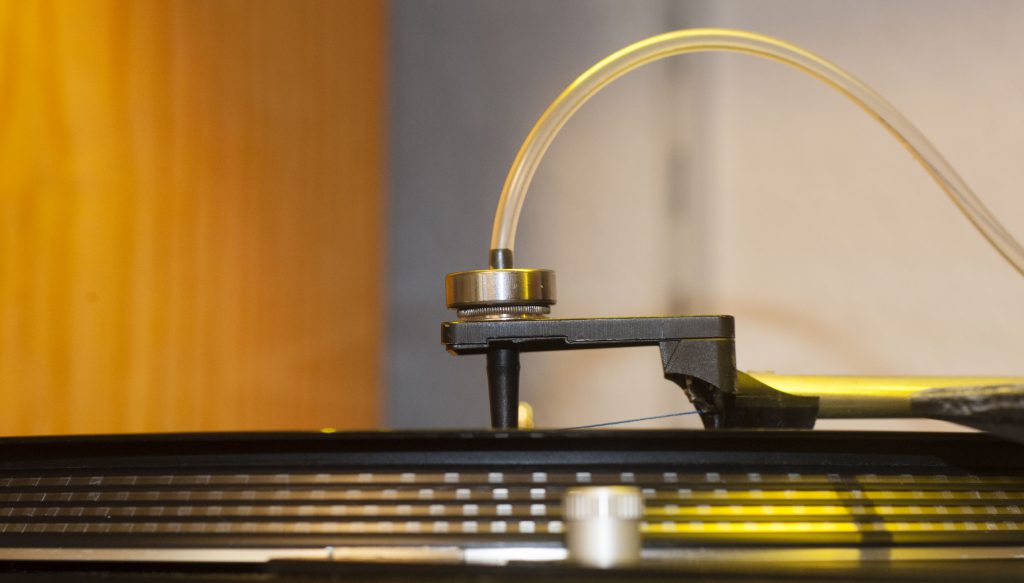
.. ..the headshell weighted with a ball bearing and the Teflon tip from the soldering accessory and the infusion tube…..
– The slowing down of the swivel speed is noticeable with considerably (!!!) cleaner plates in the outdoor area
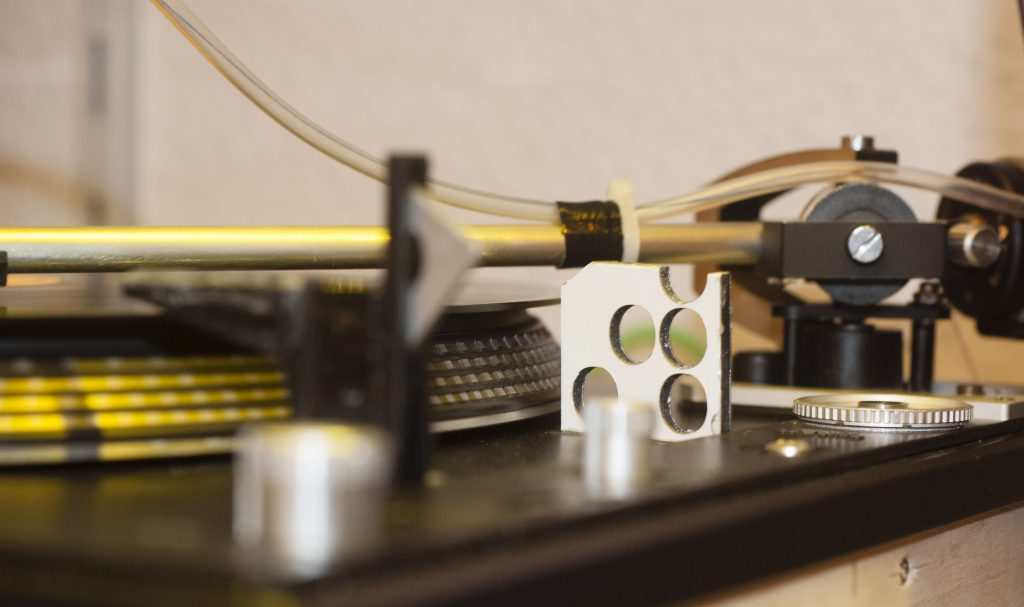
…… ..the ramp adds to the original rest position of the tonearm
– the inlet groove no longer crackles
– the plates are completely dry
Dortmund, 14.2.2019